Deploy Docassemble on Oracle Cloud's Free and Powerful Ampere VM
 |
| Sci-fi depiction of a supercomputer generated by DALL·E 2 |
Background
I have been using Amazon Lightsail to run docassemble instances since 2020. I would recommend this approach for those starting out with cloud hosting and who can afford a minimum spend of $20 a month. Lightsail abstracts a lot of the complexity and configuration options that are typically present with offerings from AWS, Azure and GCP (with the same compute capacity typically also being about half the price). For a quick-start guide to getting going with a Lightsail deployment, see the guide provided by Suffolk's Legal Innovation & Technology Lab.
I have been meaning to explore alternative cloud hosting platforms like Digital Ocean and Hetzner, which I suspect might be more cost effective, but am yet to get round to it. Then, a couple of months ago, I came across a reference to 'Oracle's free 4vCPU, 24GB RAM machine' in a comments thread discussing Windmill (a really interesting sounding open source platform).
Those specs and the word 'free' piqued my interest. After some investigation, I discovered that Oracle Cloud has a very generous free tier with Always Free resources. Since my discovery, I have been happily running my development environment on the aforementioned rather beastly machine. Server restarts (necessitated when a python module is updated) are significantly faster and things in general are perceptibly more snappy. Given that I spend most of my day developing on docassemble, this constitutes a major quality of life improvement. The fact that my bank balance is not impacted is just the icing on top.
Oracle Cloud
Each tenancy gets the first 3,000 OCPU hours and 18,000 GB hours per month for free to create Ampere A1 Compute instances using the VM.Standard.A1.Flex shape (equivalent to 4 OCPUs and 24 GB of memory). An OCPU provides CPU capacity equivalent of one physical core of an Intel Xeon processor with hyper threading enabled. Each tenancy also gets two VM.Standard.E2.1.Micro instances for free.
What this means practically is that you can deploy an Ampere VM.Standard.A1.Flex Virtual machine, with a 4 core OCPU, 24 GB memory for free. One need not be as greedy as me, and could rather choose to deploy 4 instances of 1 OCPU, 6 GB machines, or say two 2 OCPU, 12 GB machines. There is then the added bonus of the two VM.Standard.E2.1.Micro instances, which while not suitable for running docassemble, can be used for other things like hosting a blog.
However, there are a few things to keep in mind. The Oracle Cloud service isn't as beginner-friendly as others like Lightsail and even for a seasoned cloud user, learning a new layout can be annoying. Additionally, because the server's underlying architecture is Arm, you will need to use docker build to build the jhpyle/docassemble-os and jhpyle/docassemble images. Furthermore, running docassemble on Arm architecture is considered experimental. Although I haven't encountered any unexpected behavior beyond the two documented known issues, it's something to be aware of.
Setting everything up can be a bit finicky, so I'll outline the steps I followed for anyone interested in trying this out. If you are new to cloud hosting or docassemble, I would highly recommend first immersing yourself in the excellent documentation on Installing on Docker.
Create your always free account
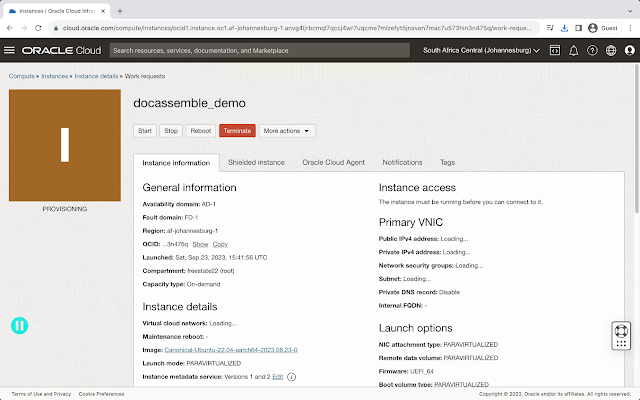
Spin up your VM


Configure your network

 |
| Repeat for port 443 |


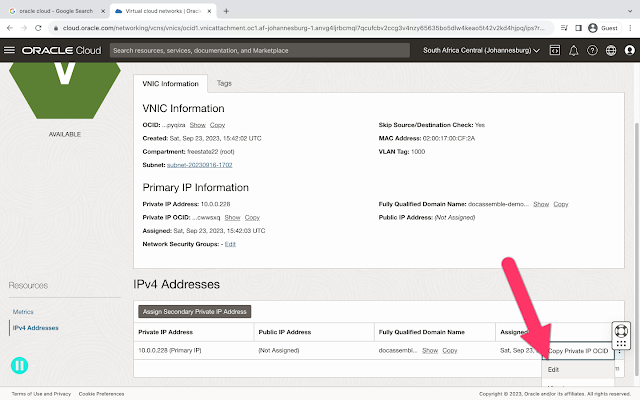
Then navigate to your instance, then click on 'Attached VNICs'.

Take steps to get cloud storage ready


Navigate to Identity -> Domains -> Default domain -> Users -> <your_username>.

Generate a secret key. The key, together with the secret key, will be be used below in the env.list file.
Install docker and build the docassemble images
(
sudo apt update && sudo apt upgrade -y
sudo reboot
)(
# Install packages to allow apt to use a repository over HTTPS
sudo apt -y install apt-transport-https ca-certificates curl software-properties-common
# Add Docker’s official GPG key
curl -fsSL https://download.docker.com/linux/ubuntu/gpg | sudo gpg --dearmor -o /usr/share/keyrings/docker-archive-keyring.gpg
# Set up the stable repository with the correct architecture
echo "deb [arch=$(dpkg --print-architecture) signed-by=/usr/share/keyrings/docker-archive-keyring.gpg] https://download.docker.com/linux/ubuntu $(lsb_release -cs) stable" | sudo tee /etc/apt/sources.list.d/docker.list > /dev/null
# Update the apt package index again
sudo apt -y update
# Verify that Docker CE will be installed from the Docker repository
apt-cache policy docker-ce
# Install the latest version of Docker CE
sudo apt -y install docker-ce
# Add your user to the docker group to run docker commands without sudo
sudo usermod -aG docker ${USER}
# Reboot the system to apply the changes
sudo reboot
)(
# Clone the 'docassemble' repository from GitHub
git clone https://github.com/jhpyle/docassemble
git clone https://github.com/jhpyle/docassemble-os
# Change the current working directory to 'docassemble-os'
cd docassemble-os
# Build the OS image 'jhpyle/docassemble-os' from the Dockerfile in the current directory
docker build -t jhpyle/docassemble-os .
# Change the current working directory to 'docassemble' which is in the parent directory
cd ../docassemble
# Build the docassemble image 'jhpyle/docassemble' from the Dockerfile in the current directory
docker build -t jhpyle/docassemble .
# Reboot the system to apply the changes
sudo reboot
)
Launch
docker run -d -p 80:80 -p 443:443 --restart always --stop-timeout 600 jhpyle/docassembleDAHOSTNAME=demo.lawtechno.com # swap with the subdomain that you configured
S3ENABLE=true
S3BUCKET=demo-lawtechno-com # swap with the name of the bucket you assigned
S3ACCESSKEY=8335b78cc56012345575605c0d8a685e7207358 # swap with your access key
S3SECRETACCESSKEY=TBzHyqbCFSDwn45H8SLKnR7ZjWERW1yvOXqX16G0= # swap with your secret key
S3ENDPOINTURL=https://prdx1cvs2amt.compat.objectstorage.af-johannesburg-1.oraclecloud.com #swap the prdx1cvs2amt and the af-johannesburg-1 with your bucket's namespace and region code
S3REGION=af-johannesburg-1 # swap with your region code
TIMEZONE=Africa/Johannesburg # swap with your timezone
USEHTTPS=true
USELETSENCRYPT=true
LETSENCRYPTEMAIL=ryan@lawtechno.com # swap with your email docker run --env-file=env.list -d -p 80:80 -p 443:443 --restart always --stop-timeout 600 jhpyle/docassemble
Comments
Post a Comment